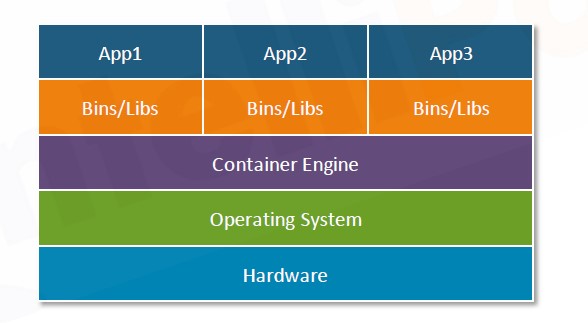
Kubernetes is an open-source system for automating, development, scaling, and management of a containerized application. Containerized application helps the packaged software to serve their goals to be released and updated in an easy and fast way.
Kubernetes helps you to make those containerized applications where and when they want. Kubernetes was originally developed by Google and now maintained by cloud native computing foundation (CNCF).
Kubernetes is an open-source tool.
Kubernetes is a Container Orchestration tool.
Developed by Google in 2014.
Kubernetes is Also known as K8s
What is Container Orchestration tool?
Container Orchestration is all about managing the lifecycle of the container, especially in a large dynamic environment. And it is the process of deploying and maintaining large numbers of containers and services for the application to run as intended.
Kubernetes Uses:
- Provisioning and deployment of containers
- Redundancy and availability of containers
- Allocation of resources between containers
- Load balancing of service discovery between containers
Kubernetes is a complex procedure to install.
Slower when compared to Docker Swarm.
More reliable and had more features.
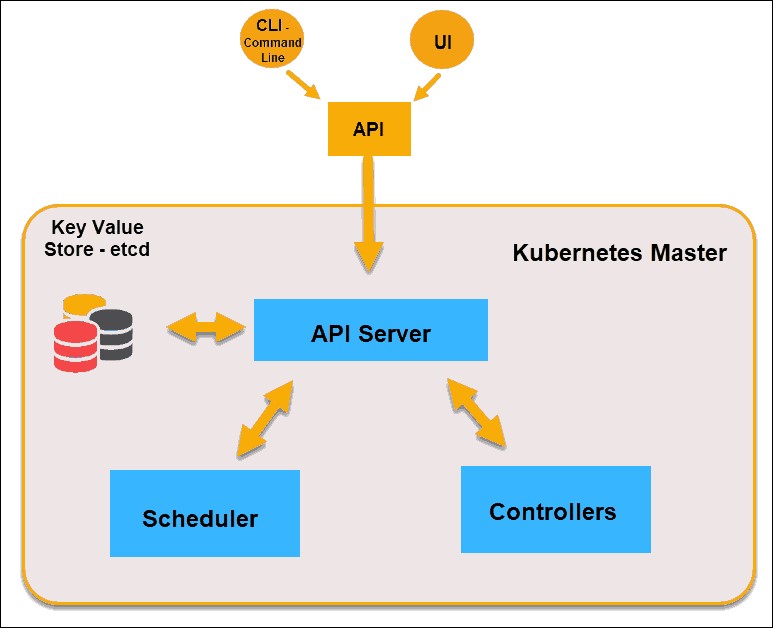
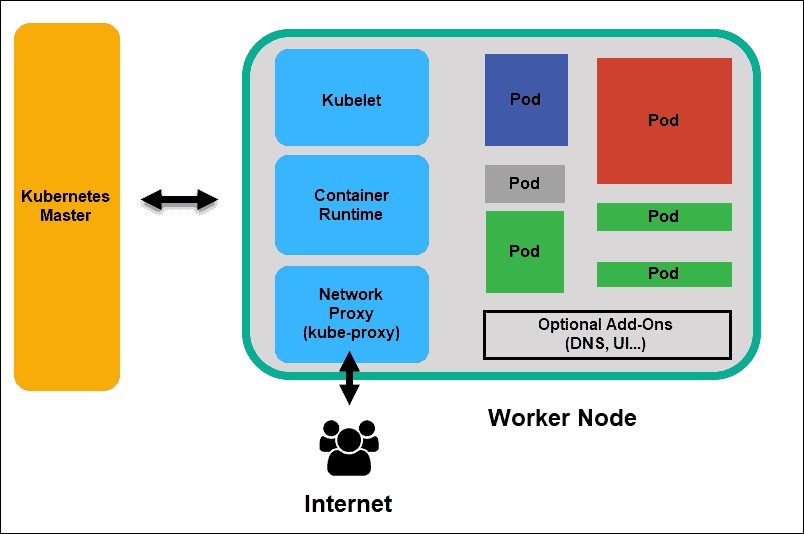
Kubernetes Architecture provides a flexible, loosely-coupled mechanism for service discovery. Like most distributed computing platforms, a Kubernetes cluster consists of at least one master and multiple compute nodes.
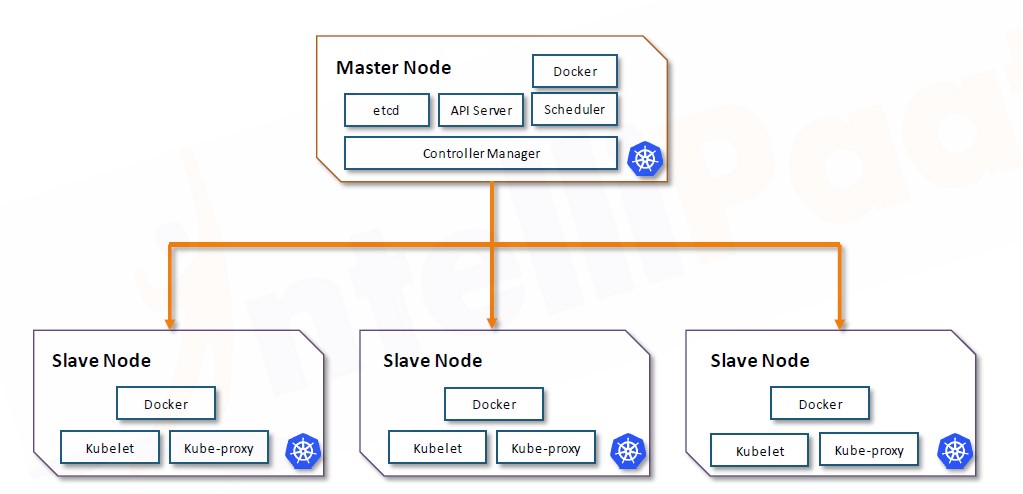
The above image is a Kubernetes Architecture. In the above image, there is one master node and several slave nodes as we wish. Kubernetes works in such a way as the master node give tasks to all slave nodes and after completing the task of slave nodes the master node took all the results in all slave nodes and show in single output through the master.
Master Node:
Slave Node:
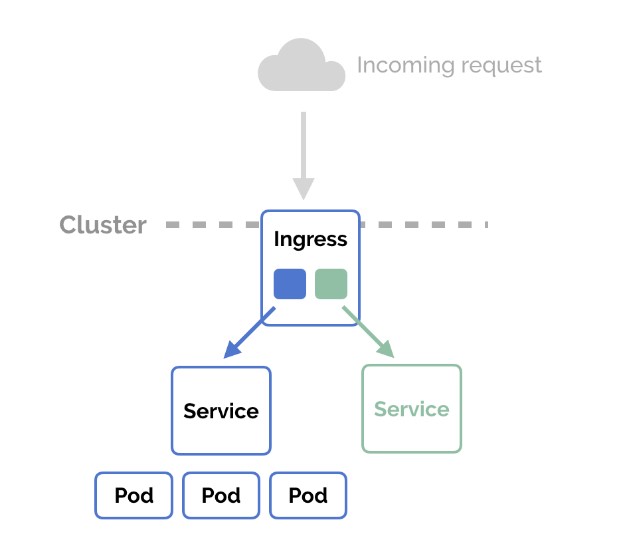
What is Ingress Controller:
A Kubernetes Controller is a specialized load balancer for Kubernetes environment are configured using Kubernetes API to deploy objects called “Ingress Recourses” monitor the pods running in Kubernetes and automatically updated the load balancer rules when pods are added or removed from service.
Step 1: Installation of Kubernetes in both master and slave nodes.
Creating one master and two slave nodes.
The green one is my master and the white one is slaves.
We need to move in to root for that following command is
Sudo su
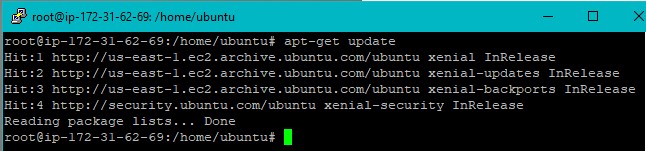
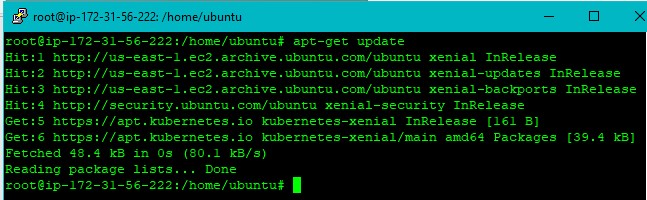
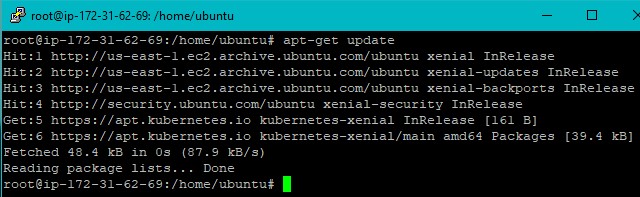
Step 2: Update every machines by using
Apt-get update (command)

Step 3:
apt-get install docker.io (Install docker on master and as well as a slave)

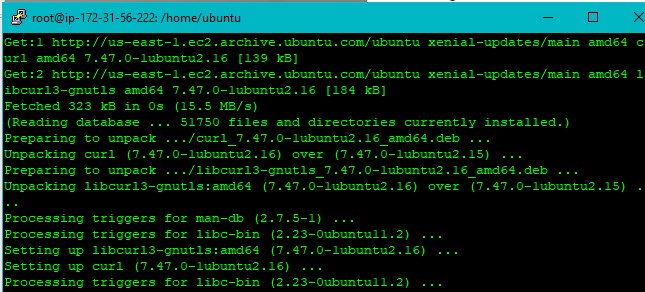
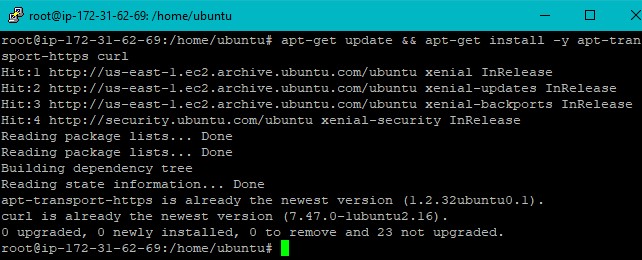
Updating and installing the updates and installing curl in both master and slave
Step 4:
apt-get update && apt-get install -y apt-transport-https curl

Output is
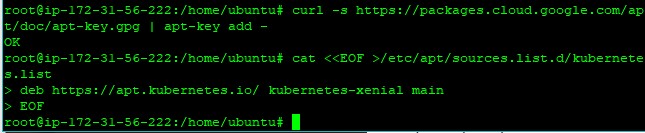
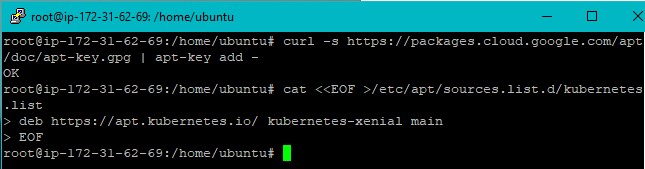
Step 5: Adding key using curl in both master and slave
curl -s https://packages.cloud.google.com/apt/doc/apt-key.gpg | apt-key add –
Output is
Step 6:
apt-get update
Output is
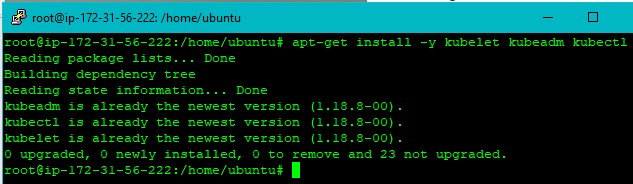
Step 7: Install kubelet kubeadm kubectl
apt-get install -y kubelet kubeadm kubectl
output is
Install again all the steps in slave1
Updating and installing the updates and installing curl in both master and slave
apt-get update && apt-get install -y apt-transport-https curl
output is
Adding key using curl in both master and slave
curl -s https://packages.cloud.google.com/apt/doc/apt-key.gpg | apt-key add –
output is

Setting path to Kubernetes file
cat </etc/apt/sources.list.d/Kubernetes.list
deb https://apt.kubernetes.io/ kubernetes-xenial main
EOF
Output is
apt-get update
output is
Install kubelet kubeadm kubectl
apt-get install -y kubelet kubeadm kubectl
output is

- Kubernetes is successfully installed on both master and slaves is done.
- We have to initialize it so that the master and the slaves are connected to each other.
- To initialize the Kubernetes cluster. Slaves are used to connecting the master from now all the commands are running on the master.
Step 8: Initialize cluster on master using the kubeadm command:
kubeadm init –apiserver-advertise-address=<private ip-address-of-master> –pod-network-cidr=192.168.0.0/16 –ignore-preflight-errors=all

output is

Copy the kubeadm join token command and paste it on no of slaves. So, the slave is also connected to the cluster.
Step 9: Copy the previous output and paste it on the slave
Output is

After this to start using cluster on master we need to execute the following commands in master.
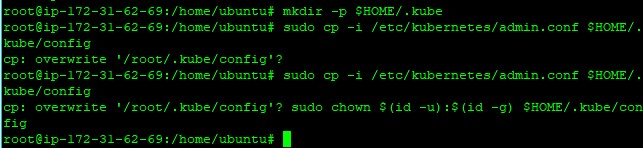
Step 10:
mkdir -p $HOME/.kube
sudo cp -i /etc/kubernetes/admin.conf $HOME/.kube/config
sudo chown $(id -u):$(id -g) $HOME/.kube/config
output is
Step 11: Now we can use the cluster. But if we write kubectl get nodes on master it shows the nodes are not ready in the state. Because there is no network plugin in the cluster.
To install the network plugin the following commands are
kubectl apply -f https://docs.projectcalico.org/v3.3/getting started/kubernetes/installation/hosted/rbac-kdd.yaml
output is

kubectl apply -f https://docs.projectcalico.org/v3.3/getting-started/kubernetes/installation/hosted/kubernetes-datastore/calico-networking/1.7/calico.yaml
output is

Write the command kubectl get nodes if the nodes are still in not ready state run this command.
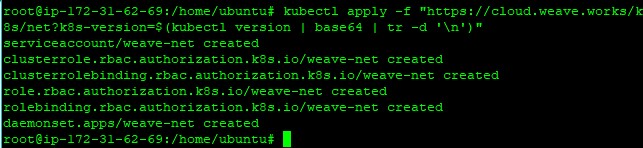
Step12:
kubectl apply -f https://cloud.weave.works/k8s/net?k8s-version=$(kubectl version | base64 | tr -d ‘\n’)
After this command, the nodes get into the ready state.
Output is
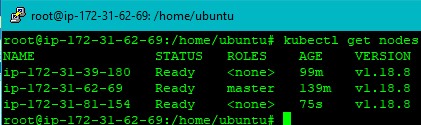
Step13:
kubectl get nodes
(Through this command we can see the nodes which are in a ready state)
Output is
Create a pod and deploy two new images
For creating a deployment, we need to write a yml file on the master.
Command to write a yml file on master is
Step14:
nano .yml
In the nano editor, write the yml file.
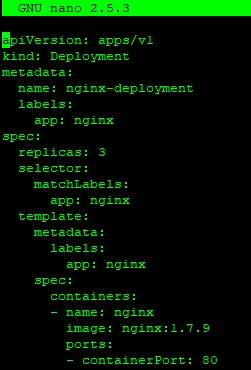
Create the deployment using the following command
Step15:
kubectl create –f nginx.yaml
Output is

Deployment of a pod in Kubernetes is done.
Command to see the running pods is
Step16:
Kubectl get po
Output is

Create a service and display the content of nginx file on the command prompt and also display it on the web.
Command to create a service on master is
Step17:
kubectl create service nodeport <name of file> –tcp=<port number>
Name of file = deployment file
Port number should always be = 80:80 because nginx is always run on port 80:8:
Output is

Service is created.
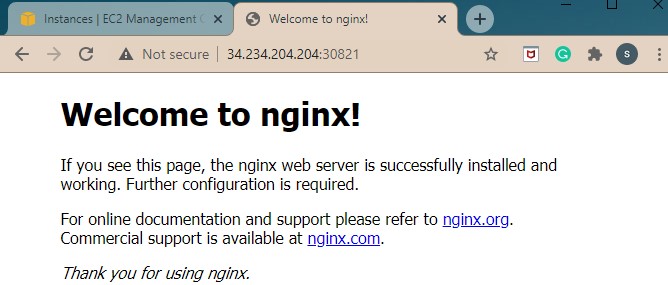
To display the content on the web page, we need a port number of services.
The command for the port number is
Step18:
Kubectl get svc <name of file>
Output is

We can see the port number in the above image is 30821
To display the content of the yml file on the web page we need to copy the master or slave IP address along with the port number and paste it on the web page.
Step19:
<master or slave ip address>:<port number>
Output is
Installation of ingress file using nginx server:
Step:1 first have to install an ingress controller ‘nginx’ for the command is:

Output:
Step: 2 Next install the service for this ingress controller. For that command is:

Output:
Step: 3 since ingress routes to only cluster-IP services, let us delete our previously created nginx node-port service and create a service with cluster-IP for nginx. For that command is.

See here service nginx is deleted.
Step: 4 For creating service cluster-IP the command is
kubectl create service clusterip nginx –tcp=80:80
Output:

See here service/nginx Is created
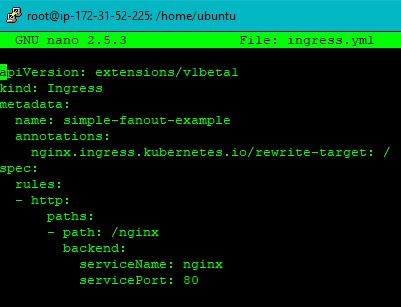
Step: 5 Now we will have to create an ingress rule, create an ingress. yml for that open nano ingress.yml file.
Open nano ingress.yml. In that copy the ingress yml file
Output:
Step:6 create the ingress rule using this command:
kubectl create –f ingress.yml
Output:

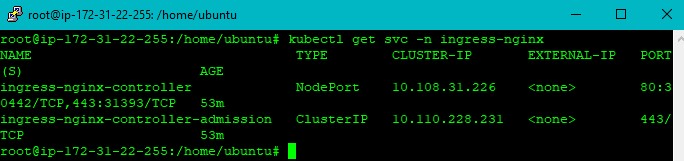
Step: 7 To see whether ingress-nginx is working or not. To see the port number of ingress-nginx. The command is
kubectl get svc –n ingress-nginx
Output:
To see the ingress-nginx file go to the web browser and type
https://<IPaddress> of master or slave:<port number>/nginx
Output:
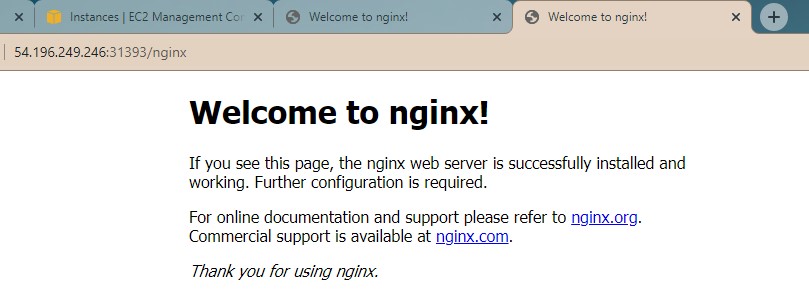
In the ingress controller, nginx server is created.
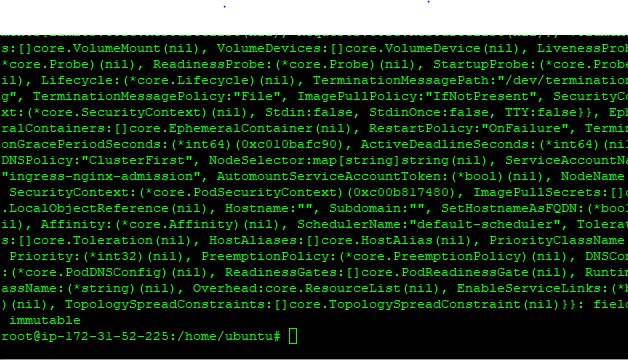
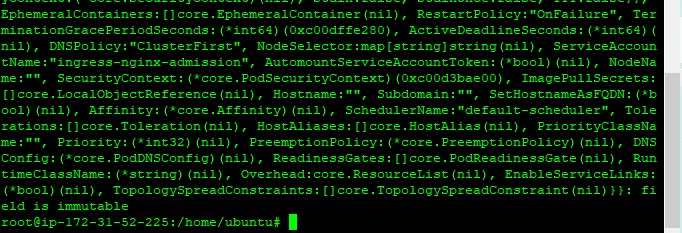
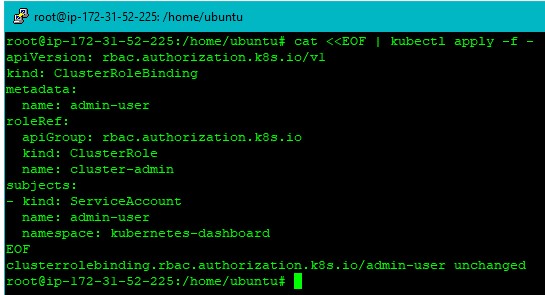
Run the following commands in master
Step: 1
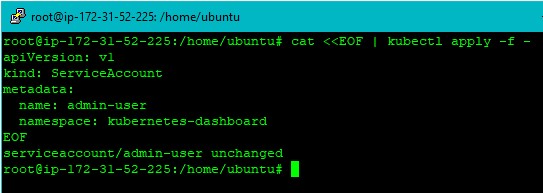
Step: 2
Step: 3 To see the Token this is the command

Output:
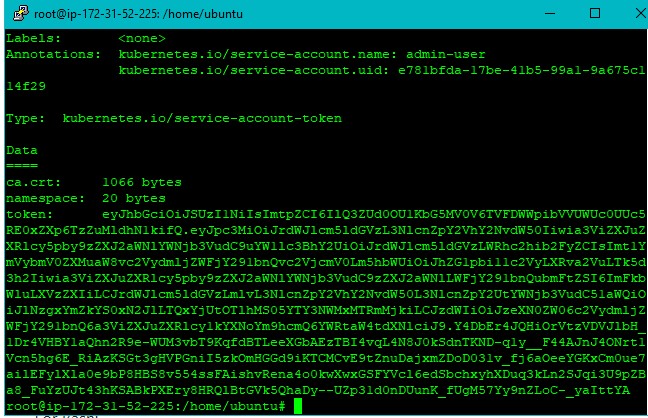
Copy the whole token file.
Step: 4 Edit the Kubernetes Dashboard service with this command.

Output:
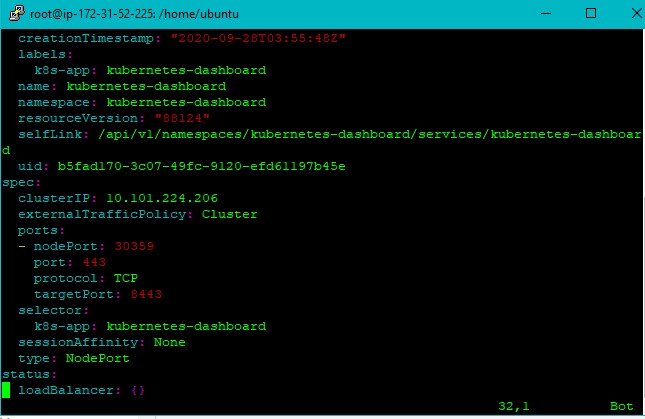
After opening this file we have write type: NodePort save the file and exit from it
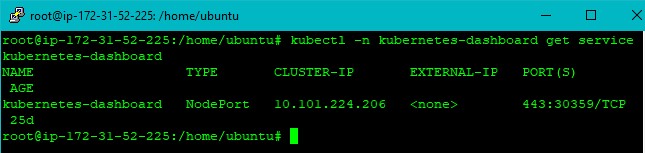
Step: 5 To see the port number of the Kubernetes dashboard the command is
Kubectl -n Kubernetes-dashboard get svc Kubernetes-dashboard
Output:
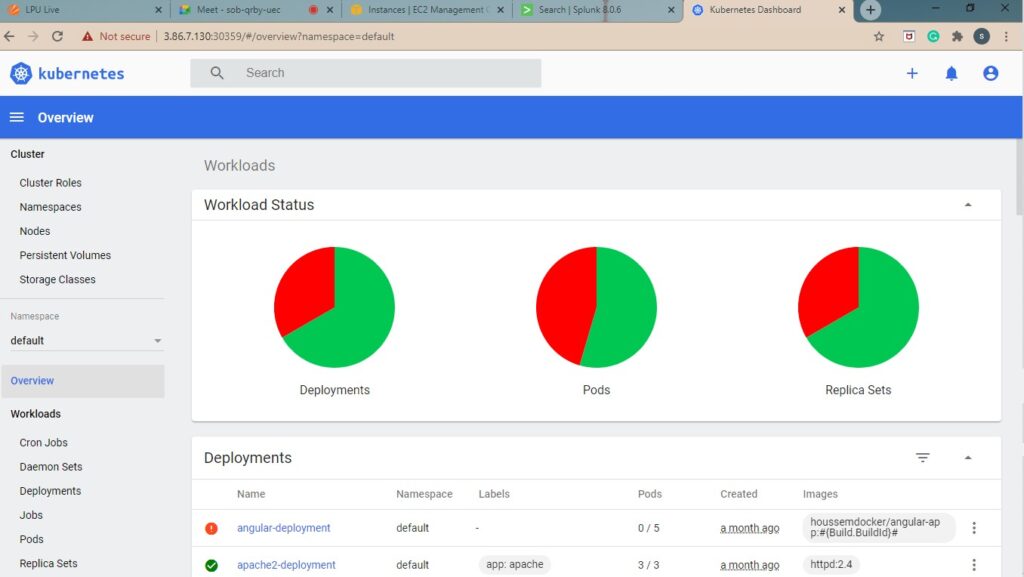
To see the Kubernetes dashboard on the web page, go to browser and type
https://<ip address> of master:<portnumber>
Then we will see a page in that page paste copied token in above outputs
Output:
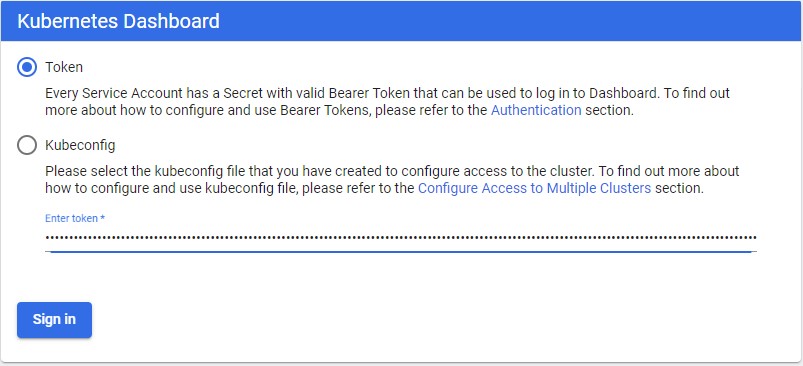
After paste a token click on sign in
Then we will see the final page of the Kubernetes dashboard